How to install?
Our Holofires are easy to install.
The fireplaces come preassembled and only require a standard power outlet. Installation can easily be done by your interior builder – no extra coordination with other parties is needed.
👉 Please note: correct installation height, careful finishing, and permanent access to the technical components are essential for optimal flame experience, a refined final look, and smooth service or maintenance. Please consult our installation guidelines below.
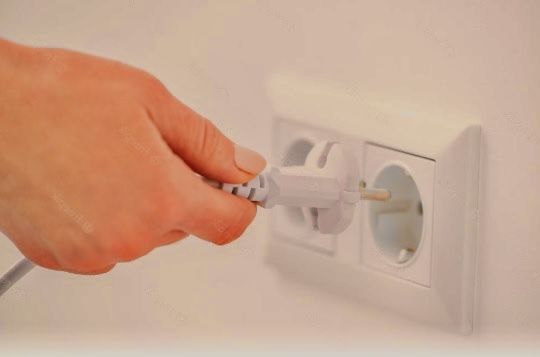
PLUG & PLAY
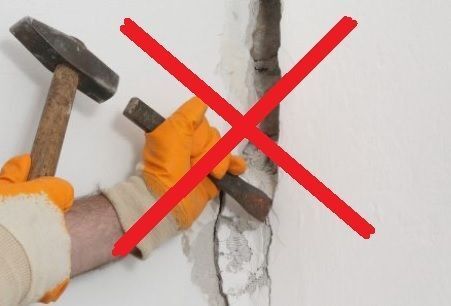
DUST-FREE WORK!
Cover the opening during construction to prevent dust from damaging the electronics inside the unit.
Make sure the power outlet and the plug-in section of the electrical supply remain accessible.
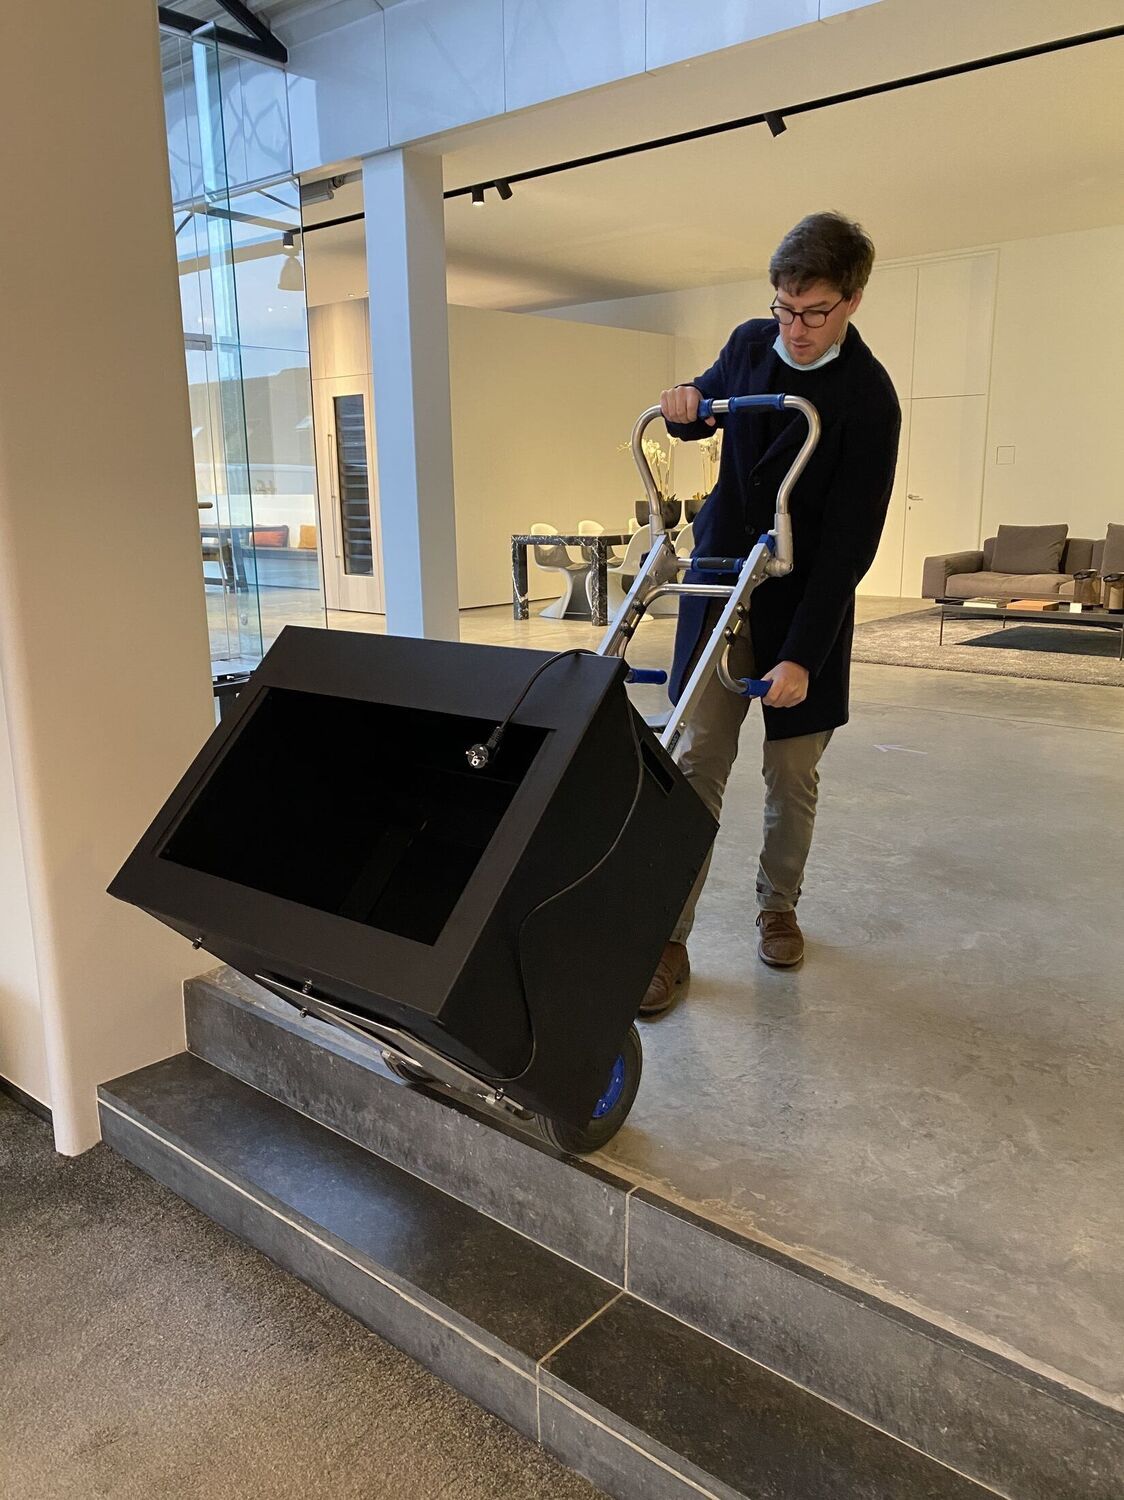
Place the unit on a stable base.
Plug the 240V power cord into the socket.
Integration possible at any stage of the project
>Easy to install – a standard power outlet is all you need, max. power consumption: 40W
>No flue, no gas, no water connection required
>Pre-assembled unit, not a DIY kit. Just add the glass and log set
>No ventilation needed (via flame opening)
>Provide access hatch for plug + connection (bottom left side of the unit).
>Smart home compatible (via smart plug), on/off control via timer
>Can be finished without fire-resistant housing (when installed without heater): compatible with all imaginable materials
>Uniquely seamless installation, without visible front frame. All technical components remain accessible through the louvers in the fire opening – no need for demolition or disassembly afterward.


TECHNICAL SPECIFICATIONS
Fire source: electricity, standard socket
Flame effect: unlimited
Flame view: single-sided front, hyper-realistic in 3D up to 180° (no in-line images!)
We intentionally do not offer corner fireplaces.
Due to the nature of the projection technology, flames are not visible from the sides – only the angled
glass edge is seen, which is aesthetically undesirable.
A corner setup also lets more ambient light into the unit, which negatively impacts flame visibility.
For the best result, the interior of the fireplace remains as dark as possible to maximize
the projection effect.
That’s why we offer dedicated corner depth frames: they create a strong, frontal flame image and
elevate the unit to a true architectural design piece.
Power consumption: Max. 40W (approx. €0.03/h) – without electric heater
Electrical input: 100-240V / 50-60Hz
Grounding: 13A
Ambient temperature: 0-35°C
Humidity: 5-80% RH (non-condensing)
Ingress Protection: IP20 – protected against finger contact, not water resistant
Weight: 68 - 75 kg
LED lifespan: 30,000 hours
Compliance: CE
Patent: yes
PLUG & POWER CONNECTION
⚠️ Please ensure permanent access to both external electrical connections of the unit at all times.
- The plug-in section of the power supply (bottom left side of the unit) must always remain accessible.
- The plug and socket are determined by the installer and must remain accessible at all times.
- For fixed installations, provide an access hatch or removable panel, depending on the design.
- The unit can be connected to a (smart) plug linked to a switch or home automation system. For integration with a home automation system: consult your electrician beforehand. This type of connection is not covered by our technical support.


REQUIRED DIMENSIONS OF THE FIRE OPENING
⚠️ Please ensure the fire opening dimensions are respected to allow continuous access to the internal electronics via the louvers.
Without 4-sided trim frame (standard finish):
• HOLOFIRE 70: 700 × 360 mm
• HOLOFIRE 80: 800 × 393 mm
• HOLOFIRE 100: 1000 × 360 mm
With 4-sided trim frame (optional):
• HOLOFIRE 70: 710 × 370 mm
• HOLOFIRE 80: 810 × 403 mm
• HOLOFIRE 100: 1010 × 370 mm
Note:
• The left and right louvers are included in these dimensions and provide access to the technical components. They can be discreetly concealed behind a removable panel for a clean finish.
• Maintenance is performed through the fire opening (including louvers) – the unit does not need to be removed.


BUILT-IN HEIGHT – Our Recommendation
• The visible bottom of the fire opening (not the full unit) should ideally be positioned between 25 and 42 cm above floor level (for installation in lounges or seating areas).
• This ensures optimal visibility and flame intensity.
• Installing the unit lower or higher may compromise both aesthetics and flame perception, especially due to the recessed projection of the holographic flame image.
• For Holofires holographic fireplaces, the maximum height of the fire opening is 36 cm – this remains relatively low, so correct positioning is essential.


FREESTANDING OR BUILT-IN
Various options, depending on the specific design of the fireplace unit within the wall.
1. FREESTANDING – Removable
WITH fully visible base front panel

2. BUILT-IN – Fixed installation
WITHOUT visible base front panel
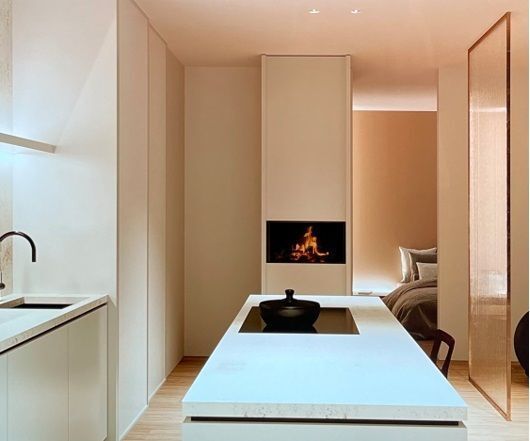
• Seamless built-in – UNIQUE!
Only the fire opening remains visible – the front panel is completely hidden.
Ideal for a minimalist look.


• Custom front frame (optional)
The frame is placed in front of the fire opening, giving the unit the visual appeal of a modern or classic fireplace. Thanks to the subtle upward positioning, it creates a warmer appearance that mimics the proportions of a traditional fireplace opening.
- The unit’s front panel remains hidden.
- The holographic flame effect is most convincing when not positioned too low.
- Ensure proper height planning of the fire opening in advance.
- We recommend drawing out the proportions first for an aesthetically pleasing and realistic result.


-> Holofire Modern Built-in
A sleek, contemporary look that fits perfectly in modern interiors.


-> Holofire Classic Built-in
A timeless, classic finish that adds warmth and charm to any interior.


CONTROL
Basic control – on/off only
Via device button or (smart) switch
• Button located at the top left on the front of the unit
• Or via a (smart) plug connected to a switch or home automation system
• Easily switches the unit on or off
• The last selected flame effect appears automatically when switched on
• No option to change flame effects or settings


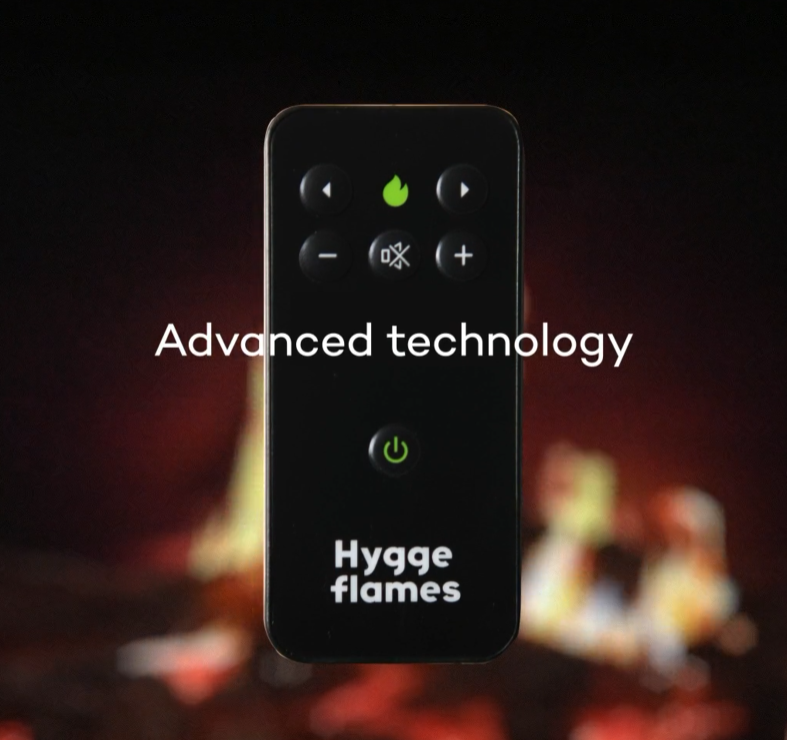
Advanced control
Via remote control
• Choose from different flame effects (left/right arrows)
• Separate control of glowing logs (–/+ buttons)
• Adjustable crackling sound (sound icon)
• Point the remote control towards the infrared sensor located at the bottom right of the visible base plate.
If performance decreases: gently clean the infrared opening with a soft cloth.

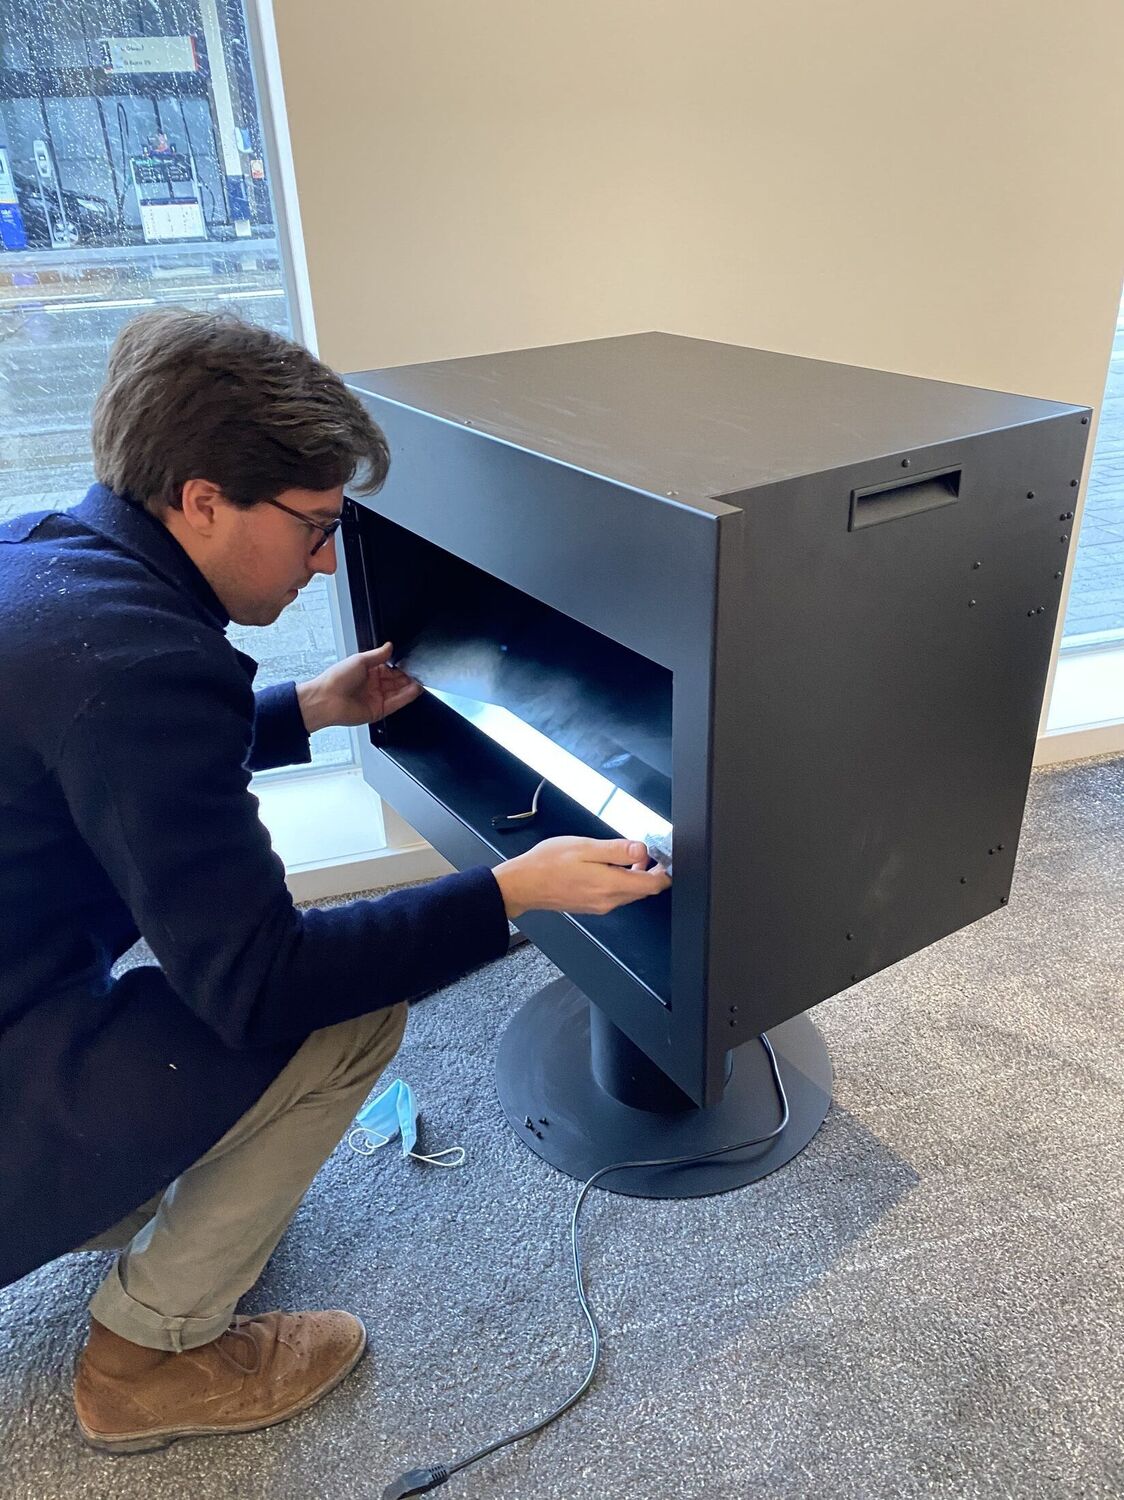
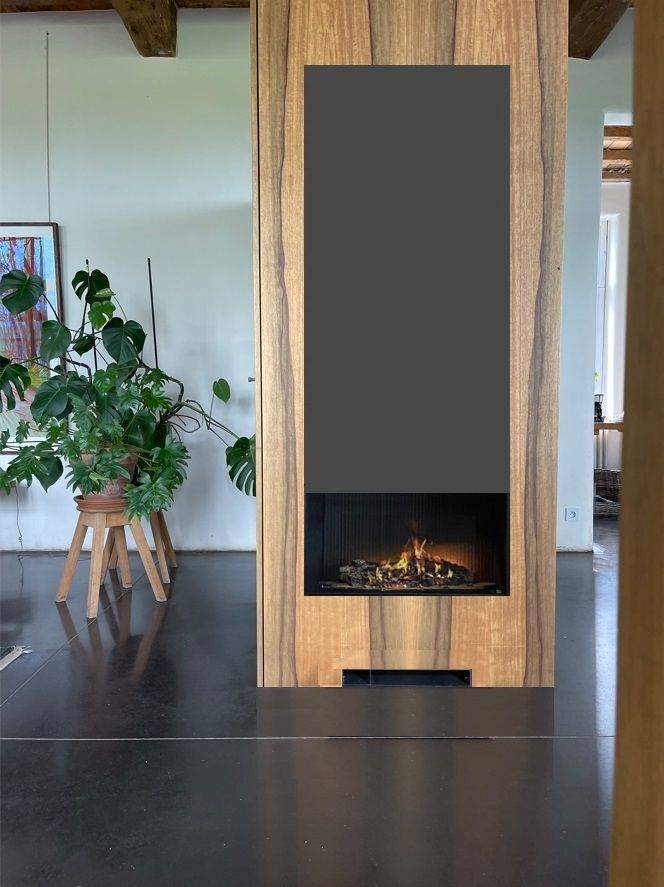
SLIDING PROJECTION GLASS – Patent
From lifelike flames to pure tranquility – choose the moment.
The projection glass slides up and down inside the fireplace and is essential for projecting the 3D flame effect.
- Glass visible: the flames come to life in a stunningly realistic 3D effect.
- Glass slid in: only the glowing logs remain visible – or completely off for a sober, authentic fireplace look.
- Aesthetic advantage: in daylight, the screen may cause slight reflections. Thanks to the patented sliding system, it can be completely hidden, giving the fireplace the appearance of a modern wood-burning stove – sleek, pure, and surprisingly real.
- Technical advantage: the screen disappears entirely into the unit, providing a flexible fire experience and easy access for maintenance.
⚠️ Usage tip: never release the screen while sliding to avoid damage.


LOG SET
The log set is pre-assembled and equipped with built-in LEDs.
These LEDs can easily be plugged in via the white cable into the base plate. After plugging in, neatly tuck the white cable back by pushing it into the hole. There is enough space under the base plate to discreetly store the cable.
Ensure the logs are properly positioned in relation to the flames so that the flames seamlessly align with the logs. The logs should be placed using one of the large flame effects as a reference for the best positioning.


GRILL (low spark screen)
>Decorative
>Place at the bottom of the glass edge


AMBIENT HEATING - Optional:
Electric Baseboard Heater
The baseboard heater is a powerful and efficient system that blows warm air throughout the room. It is highly adjustable via a separate remote control and can be freely installed, for example, underneath the fireplace. Finishing with fire-resistant materials such as natural stone or a removable steel frame is perfectly possible.
Unlike systems with integrated heating at the top — which limit warmth and complicate installation — Holofires offers a separate, easily accessible solution with a thermostatic function. It can be easily purchased and installed by your electrician.
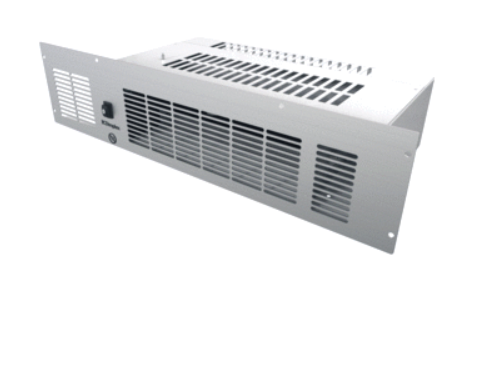

BASEBOARD HEATER:
Dimensions (mm): wxdxh 490x226x120
Power: 2400W (800W/1600W/2400W)
Remote-controlled, with many adjustable settings and thermostatic function
Noise: There is no official dB value available for this device. However, we found a measurement on the internet of 56 dB at 1 meter from the outlet of the product, comparable to the sound of a normal conversation at an average distance.
Baseboard Heater Installation – Key Considerations
• Flexible Integration into Design
– The baseboard heater can be integrated separately into the fireplace furniture.
• Insulating and Fire-safe Installation
– ⚠️ Avoid heat transfer to the fireplace unit to protect the electronics.
– Installation must comply with applicable fire safety regulations.
• External Fresh Air Supply
– Fresh air must be able to flow into the room with the baseboard heater (e.g., beneath the fireplace).
– This free space can serve as an air chamber, provided it:
• Is sufficiently large
• Allows for adequate airflow for optimal operation
– Preferably, the supplied air comes from:
• Outside, or
• An unheated space
– Avoid air from the already heated room.
• Access Hatch
– Provide a separate hatch for easy accessibility to the unit.
• Electrical Connection
– ⚠️Connect to a separate circuit, solely for the baseboard heater.
– Requires a new double-pole circuit breaker.
– Connection only by a certified electrician.
Optional – Steel Design Heat Strip
• Standard dimensions: 600 x 60 x 220 mm
• Function: Blowing warm air
• Also available in custom sizes and finishes
POST-SERVICE
Even after installation, all parts of the fireplace remain EASILY accessible through the fire opening.
No dismantling required afterwards, unlike other brands.